 A NEW LOOK IN LINOCUTS: new uses for an old medium PRINTS & TECHNICAL NOTES by Warren Criswell |
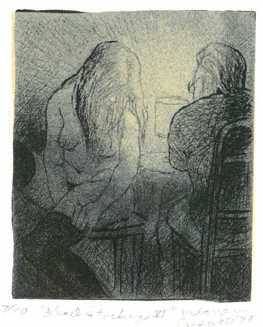
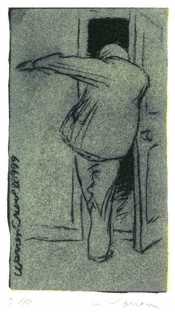
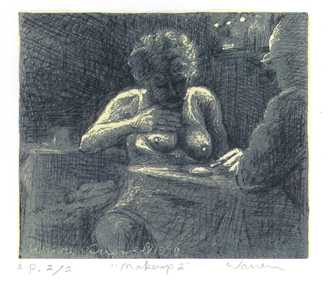
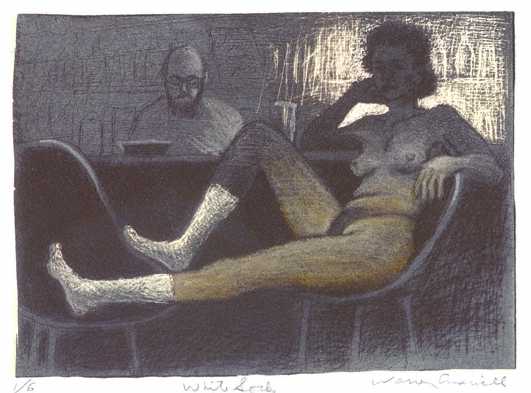
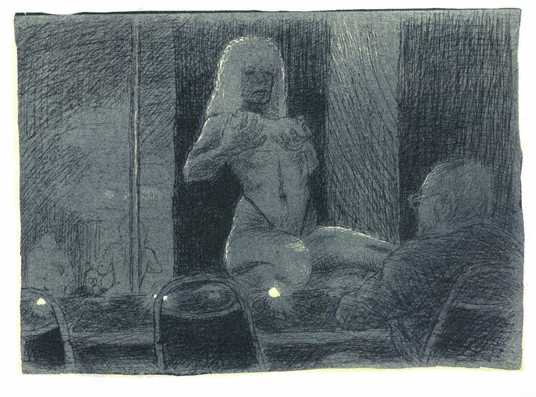
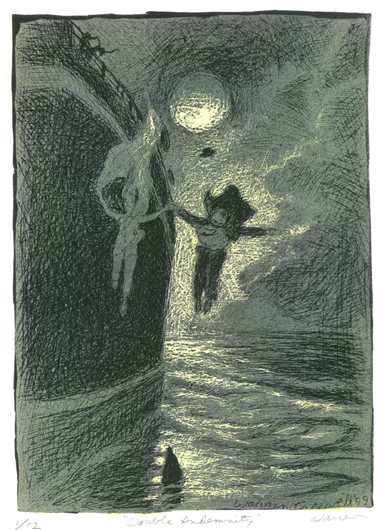
The basic technique is a variation on the reduction linocut invented by Picasso and his printer Arnera in Vallauris in 1959. I've always liked those prints but there are a few odd ones that at first glance don't look like linocuts, and when Sammy Peters pointed them out to me I knew immediately this was something I could use. They are black line prints but a long way from Dürer or even Maillol! The easy, cursive flow and fineness of the lines show that Picasso cut the line itself with a gouge, rather than cutting away everything but the line as in traditional woodcutting. (Some examples at the Metropolitan are Bacchanalia B. 927, Woman & Horse B. 913, and Embrace I & II, B. 1150 and B. 1151 of the Kramer collection.) It was a simple and elegant time-saving trick: Print a solid black ground first, then cut your design with a gouge and print it over the black in white ink--or some other color, as long as it's pale and opaque. The cut lines show through as black. Though these are called "reduction prints" in the literature, meaning that only one block was used, I don't believe they really are. In any case there would be no point in using the same block for both colors, since only one of them was cut. If two blocks were used, then it turns out that Picasso missed a good bet. By that I mean: highlights can be cut into the black ground block, as in my Double Indemnity, Moths, Makeup and others. That was the second thing I discovered. The first was that I could "draw" into the linoleum with a drypoint needle instead of cutting with a gouge or knife. Black Stockings V was my first attempt. I began cutting the image with a gouge but after a few lines, on a whim, I picked up a diamond-tipped drypoint needle that happened to be lying there on my work table and gave it a try. I never picked up the gouge again!--although I've found since that an engraver's burin works well for bolder lines. It turned out that the diamond point was important. A regular steel Whistler's needle won't cut it--it hangs up in the lino. But the diamond point sails right through, plowing up a burr like a drypoint. I remove the burr with steel wool. (I discovered later that a carbide tip works equally well and is a lot cheaper.) |
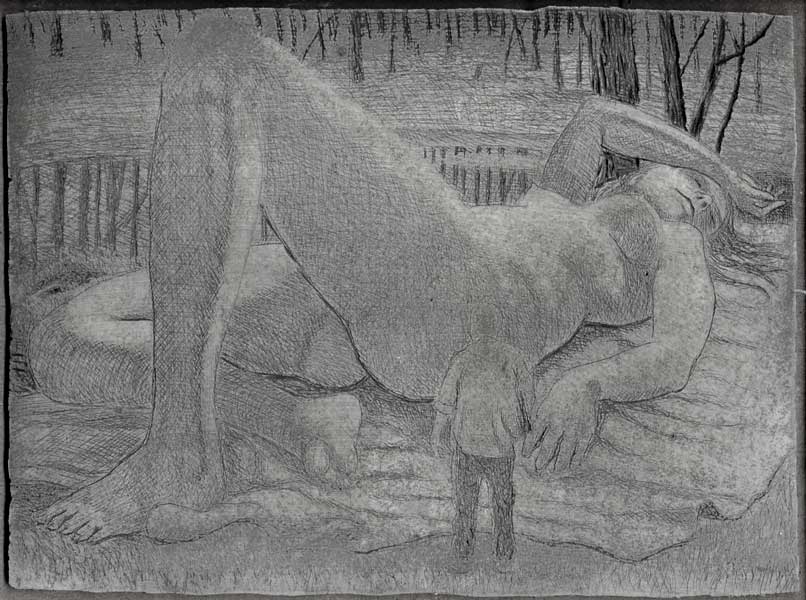
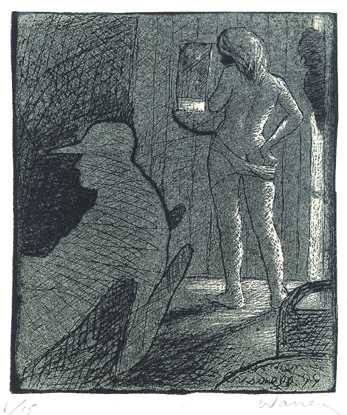
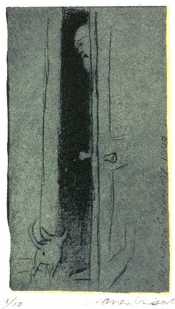
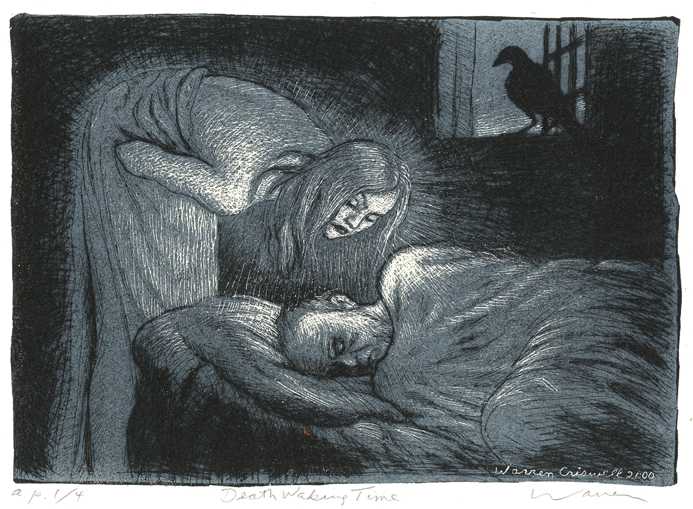
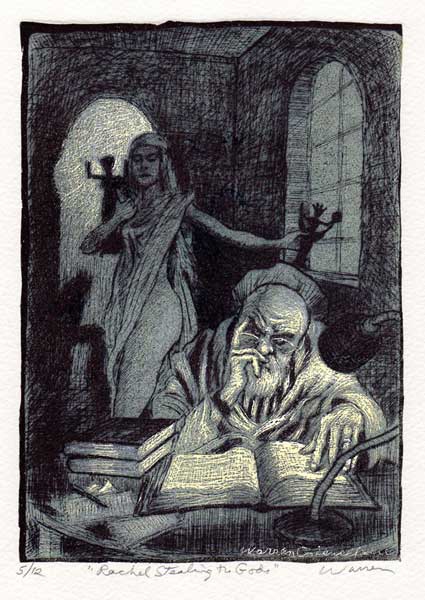 Rachel Stealing the Gods, 2000, linocut, image 7 x 5, sheet 10 x 8¼ inches
|
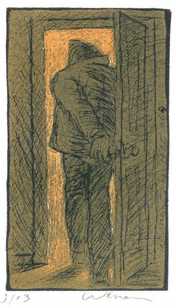
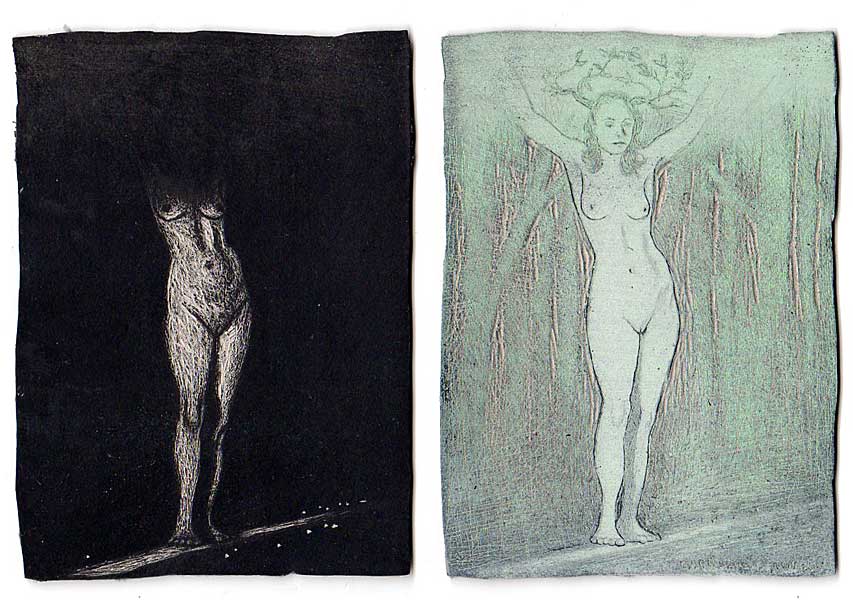
 Black Stockings V, 1999, linocut, image 4 x 3 3/8 in. |
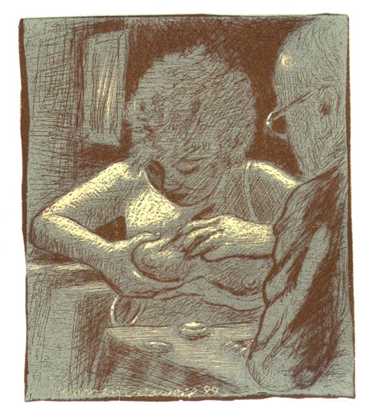
My first attempt to proof this image was a big disappointment, but I won't go into the messy details. These first failures led to my third discovery: You need a VERY stiff and opaque ink for the key block. (I'm calling the black printer the "ground block" and the lighter opaque ink printer the "key block," because it serves the same purpose as a conventional key block.) In fact, the art supply people don't make an ink that stiff or with sufficient opacity. I solved this by mulling whiting (calcium carbonate) or titanium white dry pigment into opaque white relief ink. (To see a demo of how I do this, click here.) The ink for the key block has to be very stiff but very plastic at the same time, or else it will (a) clog the fine lines and (b) fail to cover the ground, so you have to mull it thoroughly and then do it again. It has to be perfectly smooth, with no lumps, but so stiff you can just barely roll it out on the slab. The dark ink for the ground block is not so critical because opacity is not a problem there, but it should be stiffened a little, too, if the image has fine lines in the highlights. |
|
Anyway, once all that was worked out, plus a good method of registration, I found I could draw freely on the linoleum in more or less the same way I draw with a pen or pencil on paper and that all those lines, no matter how fine, would be preserved in the print. This is exactly what I wanted to achieve in printmaking--without having to go through all the time-devouring routines of intaglio or lithography. I find that with this kind of printmaking I still have time for my painting and sculpture, which was never the case when I was doing etchings, mezzotints, silk screens or wood engraving. This method of linocut is as direct and intuitive as drypoint--with a lot of possibilities for color and contrast that drypoint doesn't have--and a lot easier to print. It's possible, by the way, to print these blocks so that the print looks like drypoint or even mezzotint, while being capable of much larger editions than either. The drawbacks are that everything has to be just right--ink, paper, pressure, etc.--or it won't work. But after all that's pretty much the case with any print medium. Of course the technique is secondary to the image, but I hope these technical aspects will be of interest to connoisseurs of prints and students of printmaking. The images shown here represent my first attempts in this odd medium. I continued to make them off and on, but after that first burst in 2000, other media--like sculpture and animation--intervened and it was about seven years before I got back into it (see miniprints) and then another lapse. But now I'm doing it again--and each print has new problems all its own! (For an illustrated recap and update of all this, see the Web version of my lecture, The Criswell Linocut.) Warren Criswell |
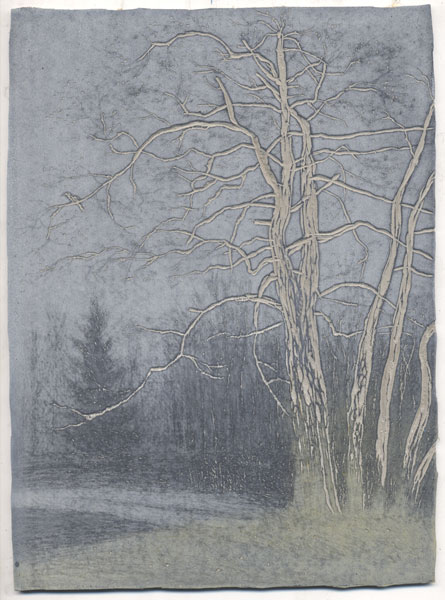
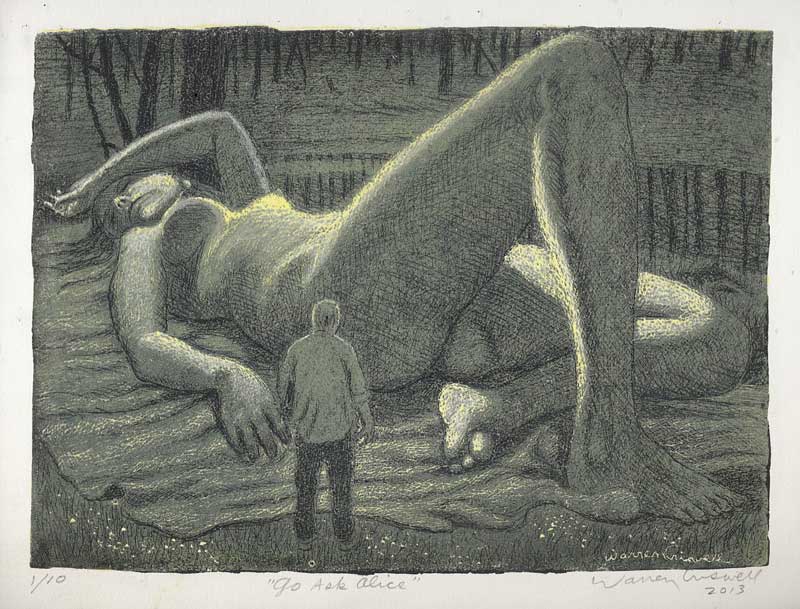
| PS. After doing the Dryad drawing, I couldn't resist attempting a linocut of it. Catching all those subtle contours of flesh, and the blending of green, black and white, were things the "Criswell linocut" method had never been called upon to perform. I went though about a dozen trial proofs, altering the blocks, remixing the inks, experimenting with different pressures in the press, before I started to get close to what I wanted. After a run of 12 good blacks on Friday, I ran the color printer Saturday--using selective inking of green and white with small brayers, something I'd never done before--and got 10 good ones. Then I tried a third run, overprinting the lower body with white ink, and ruined 2 of them. But hey, it's printmaking. Here are the blocks: |
|
||||
|
|||||

Here's a couple of recent ones:
w.jpg)


